[ad_1]
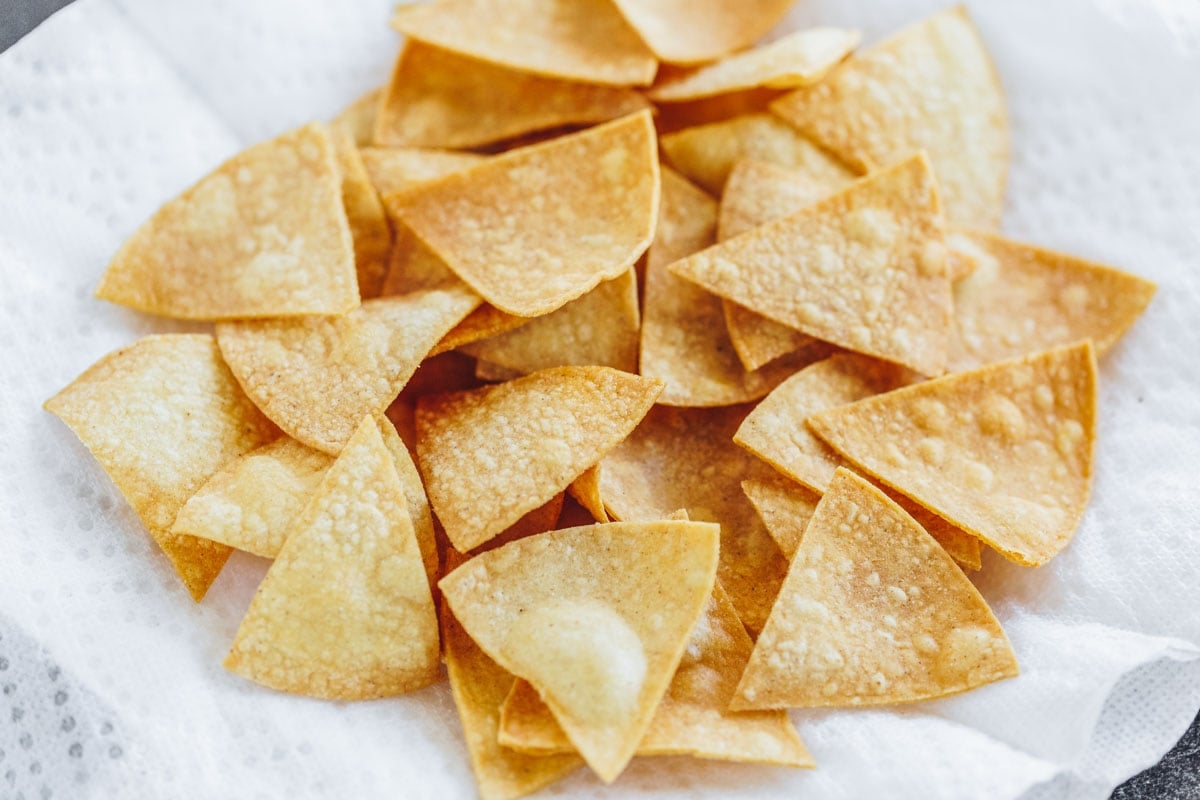
Homemade tortilla chips are crispy and sprinkled with salt. They are surprisingly quick and simple to whip up!
Frying your own crispy perfection is easy to do and only requires a few simple steps. It will definitely be hard to share this goodness with others, especially if you’re dipping them in Salsa Verde, Homemade Salsa, or Black Bean and Corn Salsa.
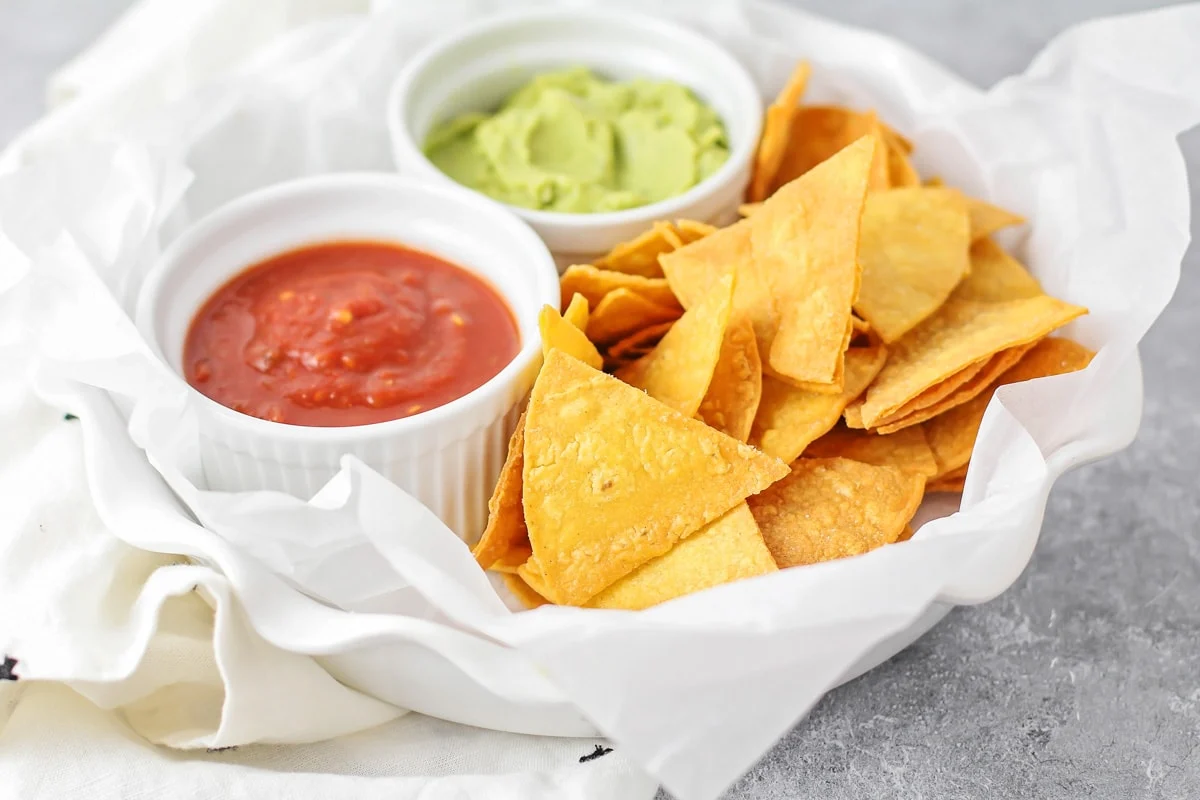
Restaurant Style Chips!
I am obsessed with chips and salsa. It may be my favorite part of going out to eat at a Mexican restaurant. I am also a chips and salsa snob, there are definitely places I prefer to patronage for this reason.
But really, I need look no further than my own kitchen for this tasty goodness. Frying up your own restaurant quality chips is really quite simple.
With just a few steps you too will be crunching on some salty goodness. Just pair these homemade tortilla chips with your favorite salsa for a tasty night out in your own house!
How to Make Homemade Tortilla Chips
DRY. Homemade tortilla chips fry better when the tortillas are a LITTLE dried out. Lay out on paper towels or wax paper for a few hours before cutting. Or you can dry them in the oven, by laying out in a single layer on a baking sheet and baking at 200 for 10 minutes.
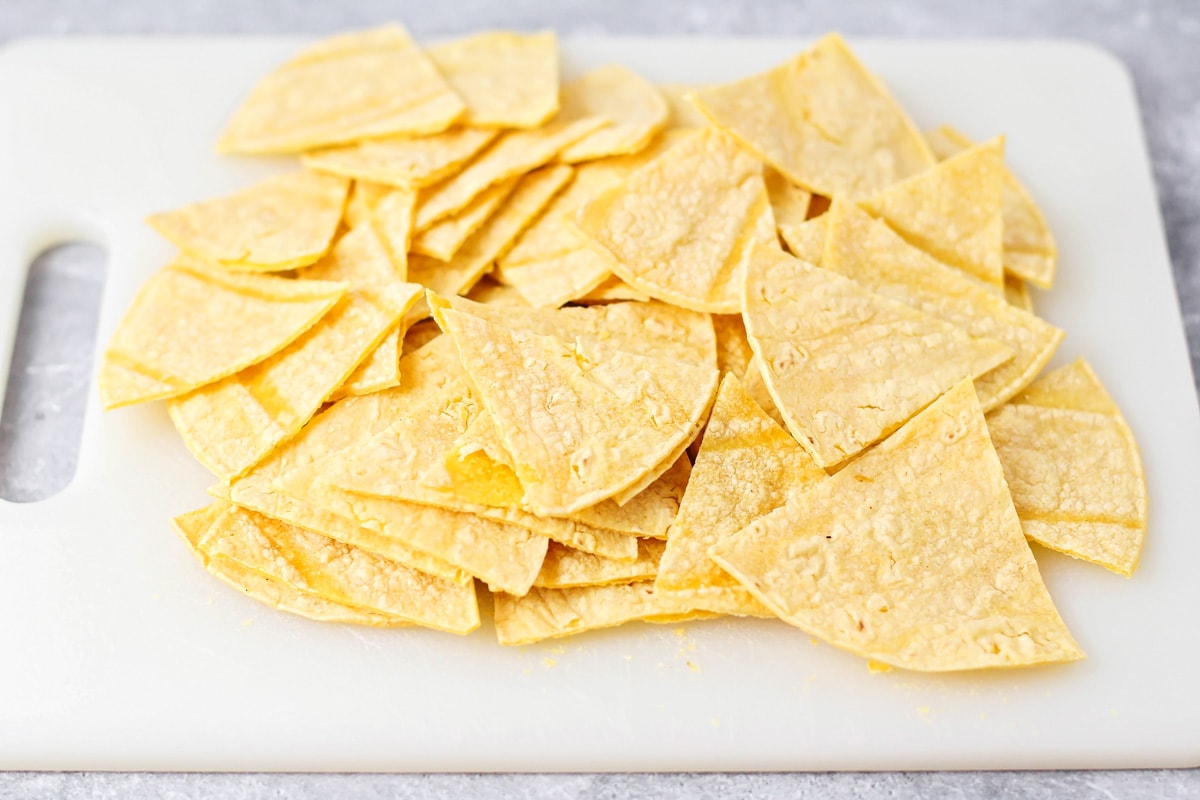
CUT. Cut each tortilla into 6 triangle shaped wedges.
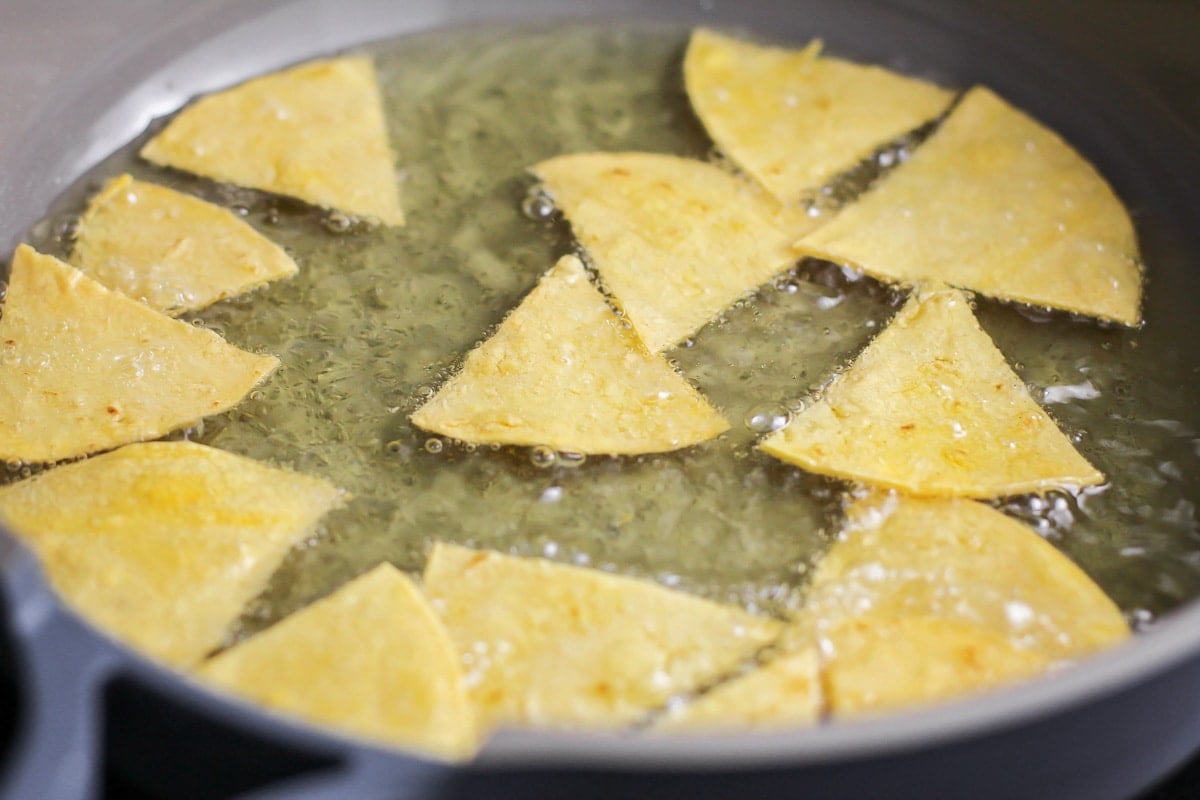
HEAT. Add oil to your skillet and fill to about ¼ inch high on the sides and cook on Medium heat.
Note: You can test the heat of the oil by adding a small piece of tortilla to it and it sizzles (you want it around 350 degrees).
FRY. Fry the tortilla pieces in batches (you want them to change color just lightly – not browned – and get crispy) making sure to place on a paper towel lined plate when done.
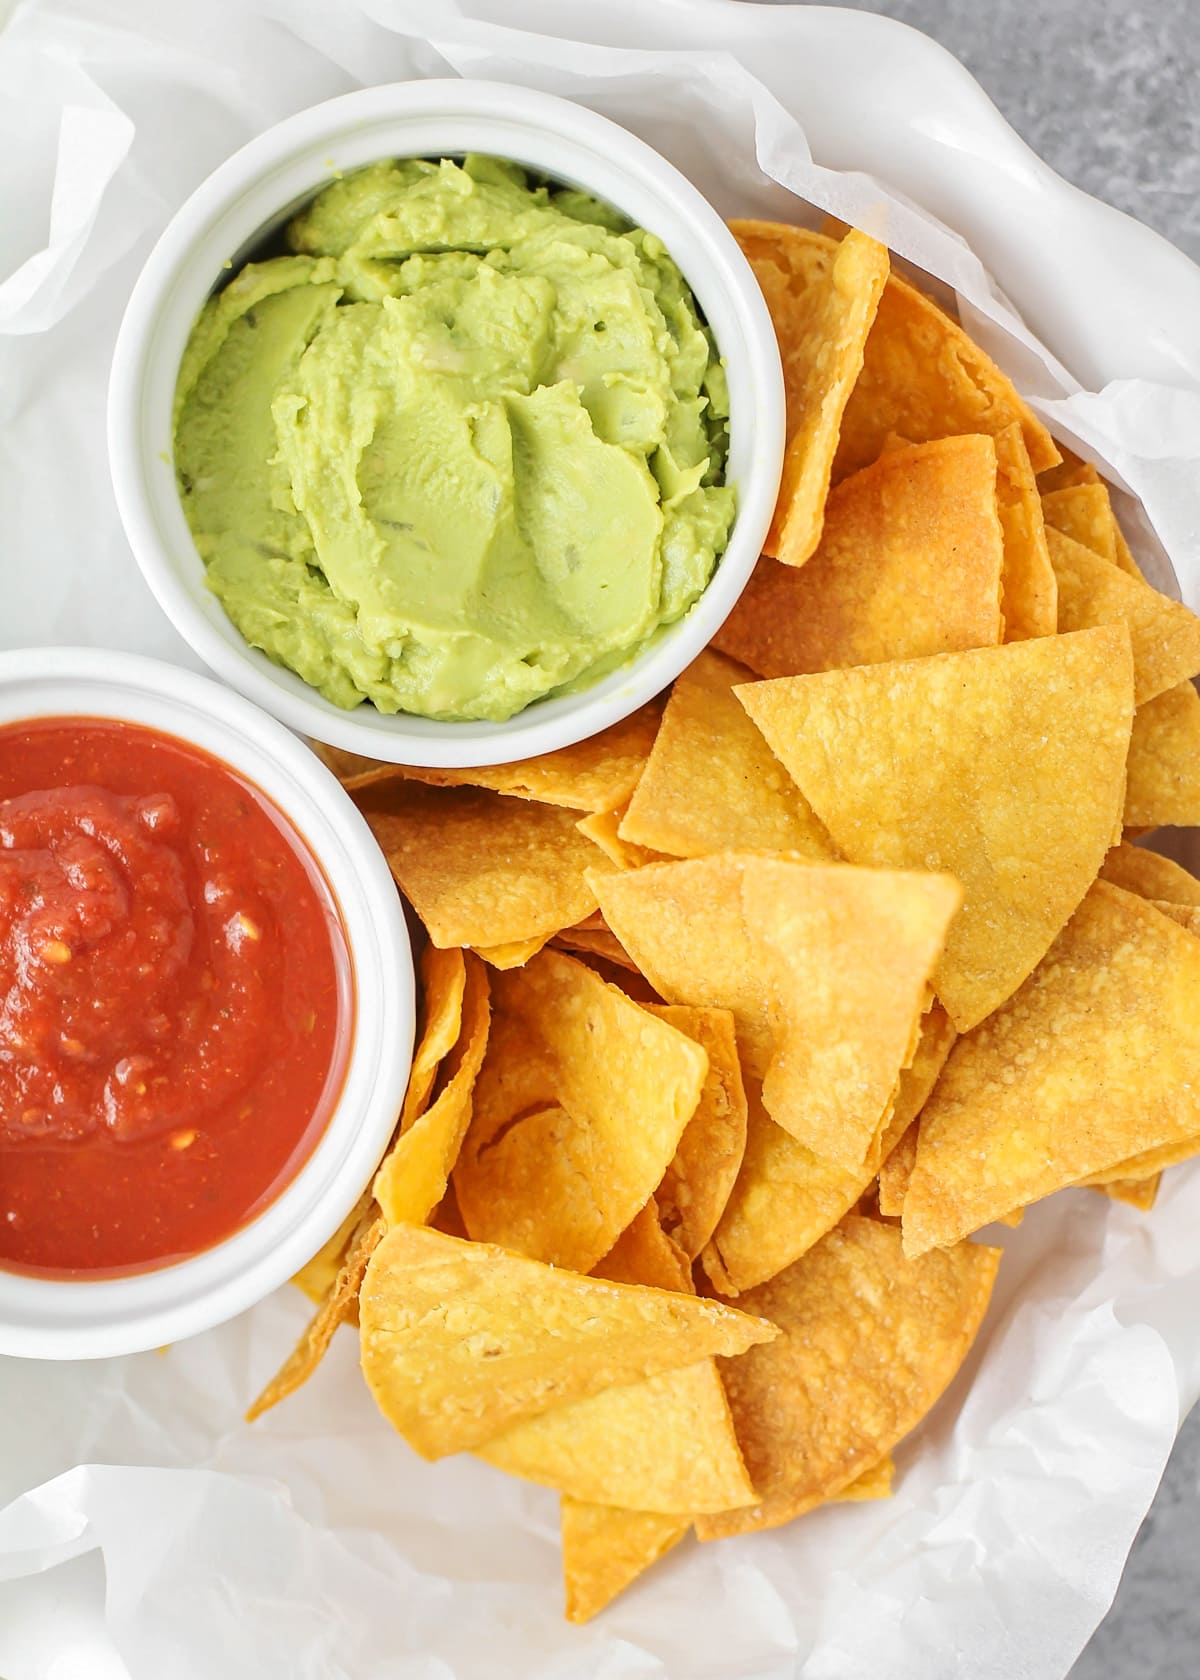
SEASON & SERVE. Sprinkle with salt while warm. Serve warm with salsa (red salsa or green salsa).
Frying Tips
Oil: You can use vegetable, peanut oil or canola oil. You will need at least ¼ inch of oil in the skillet you use. I set the burner to medium high and then adjust it accordingly.
To test if the oil is ready, place a corner of a tortilla slice in the oil. It should bubble and sizzle right away. The chips cook quite quickly so you’ll need to be watching carefully.
If it browns too rapidly, then the oil is too hot and you need to reduce the heat.
Season the chips: A bit of salt is all you need to finish off these chips, but you can also use other seasonings. Some great flavors include garlic or onion salt. You can also use cayenne pepper for a bit of heat. No matter what seasoning you use, be sure to add it right after removing the chips from the oil.
Serving and Storing
Chips and salsa is a classic combo. These homemade tortilla chips also taste great served with some of our favorite savory dips:
Storage: Store the cooled chips in an airtight container or a ziploc bag. They will easily last for 3 days. You can keep them longer but they will start to become stale.
Serve chips and salsa on the side of these mexican entrees:
-
Tortilla chips fry better when the tortillas are a LITTLE dried out. Lay out on paper towels or wax paper for a few hours before cutting. Or you can dry them in the oven, by laying out in a single layer on a baking sheet and baking at 200 for 10 minutes.
-
Cut each tortilla into 6 triangle shaped wedges.
-
Add oil to your skillet and fill to about ¼ inch high on the sides and cook on Medium heat. You can test the heat of the oil by adding a small piece of tortilla to it and it sizzles (you want it around 350 degrees).
-
Fry the tortilla pieces in batches (you want them to change color just lightly – not browned – and get crispy) making sure to place on a paper towel lined plate when done. Sprinkle with salt while warm.
-
Serve warm with salsa.
[ad_2]
Source link


